
 I feel like it has been forever since I posted anything! Here are the 3 projects we made at my April 30th Stamp Camp. We made a bright flowery Mothers Day card, a fun birthday card, and a decorative plate for a pillar candle.
  For the Mothers Day card I wanted to use the new DSP from the Summer Mini Catalog, Beyond the Garden. I love this paper! But since it is so bright and beautiful, it is challenging to try and use it all together! Love it, but definitely a paper to use more solids with than prints. However, I did discover that by placing some of the bolder patterns with one of the more gentler patterns, it looked great! I paired the paper with So Saffron for the main card, Wild Wasabi and Rose Red for the background pieces behind the DSP, and Rose Red and Garden Green for the tulip. I used the Blossoms Petal Punch to make the tulip. The measurements/instructions for making this cute trifold card look hard, but are very easy!
 Main Color - 10 1/2" x 5 1/2" - place long side parallel to your cutter, and placed at the 1/2" mark, then cut from the 1 3/4" line to 8 3/4" line. Flip and do the same on the other side. This gives you the pop part in the middle. Then score just the middle section (inside of cuts) 1 3/4" in from both sides. Score the entire length 3 1/2" from both sides. When folding - follow picture - its just folding the opposite way for each section.
2nd + 3rd Color - cut 2 at 1 5/8"x1 3/8" and 1 at 1 5/8"x 5 3/8"
DSP 1 and 2 - cut 1 at 1 3/8" x 5 1/8" and 2 at 1 1/4" x 1 1/2"
DSP 3 (middle section) - 2 at 1 3/8" x 3 3/8"

The candle plate is super easy! I love adding fabric to plates and bowls to jazz them up for parties and make nice decorations. For this, I measured my candle plate, and it is 6"by 6", so that is what I cut my fabric to. I used spray adhesive to coat the back of the glass plate. I placed the fabric, right side to the glass, in the corner, and then stretched the fabric over the bottom, then stretched the fabric over the rest of the plate. The fabric may go over the edge slightly, just trim it. Then I used glossy modge podge and painted it on the back, sealing the whole thing, including the edges. This keeps the fabric safe and hand washable, and seals the edges so they don't fray. I did 3 layers. If you do this with a plate that sits up, you can also use more layers and some sand paper to smooth it out more if you want to make it smoother. This is sitting flat so no need to get fancy! I used the Spring Vintage Fabric and it looks great in my living room!

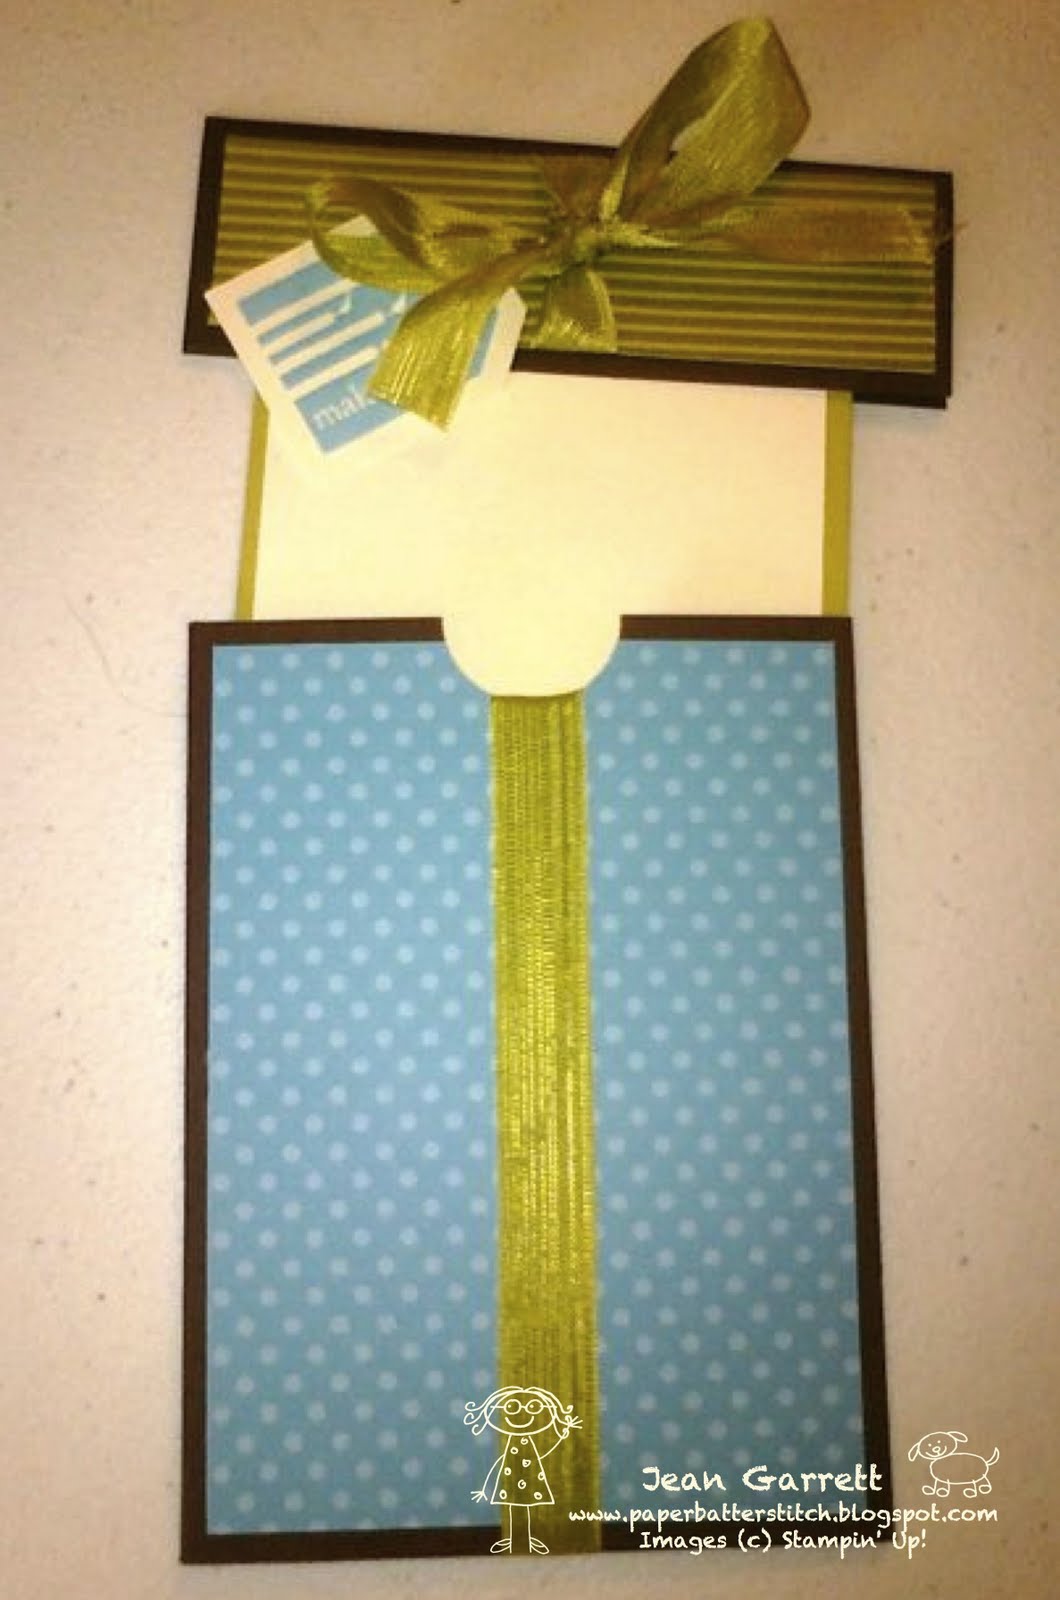
The last thing we made was a birthday card. I got the inspiration for this card at http://walkruncraft.blogspot.com/2011/04/birthday-present-card.html. I found it through a great website for Demonstrators. Mine is slightly different in size and design, but hers is way better. I just saw the picture and recreated it on my own because I had some extra stuff I wanted to use, but her instructions are great!
I plan on trying out doing a video tutorial soon! I am 1 of 2 Junior Class sponsors at the high school I teach at. We have prom this weekend, so I am a bit crazy with that. But soon, very soon, I will be breaking out my camera!
I am also getting super excited about Convention! Myself, and my two uplines are going to the Stampin' Up! Convention in Salt Lake City in July! I am getting so excited, especially now that hotel and plane stuff is all situated. Yay!
I promise to update more often as I will have lots more time soon!
Craft on!!
Jean


